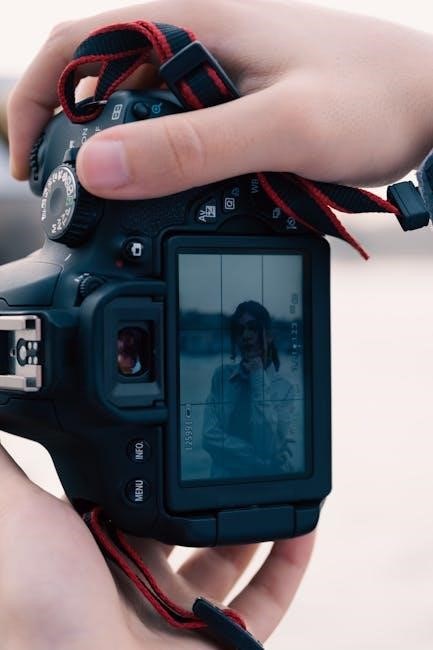
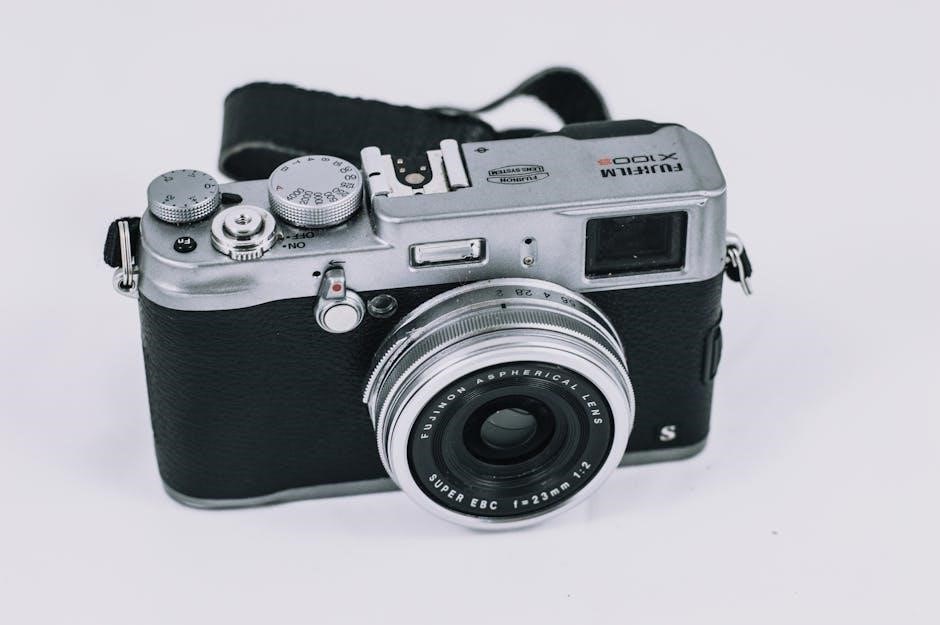
Embarking on a photographic journey requires understanding your camera’s capabilities; learning manual settings unlocks creative control beyond automatic modes, fostering growth.
1.1 Why Learn Manual Settings?
Stepping away from auto mode is crucial for photographic development. While convenient, automatic settings limit creative expression and understanding of core principles. Learning manual settings empowers you to dictate the final image, rather than relying on the camera’s interpretation of the scene. This knowledge is vital for consistently achieving desired results, especially in challenging lighting conditions where auto mode often falters.
Mastering these settings isn’t about complexity, but control. It’s about understanding how your camera captures light and how to manipulate those elements to realize your artistic vision. Every photographer, regardless of experience, benefits from a deep understanding of aperture, shutter speed, and ISO – the foundations of manual photography.
1.2 Benefits Over Auto Mode
Auto mode prioritizes convenience, but sacrifices precision and creative intent. Manual control allows photographers to override the camera’s decisions, ensuring accurate exposure and desired artistic effects. This is particularly important when shooting scenes with complex lighting or specific stylistic goals, where auto mode often produces unsatisfactory results.
Furthermore, manual settings foster a deeper connection with the photographic process. Understanding the interplay between aperture, shutter speed, and ISO cultivates a more intuitive approach to image-making. You’ll learn to anticipate challenges and proactively adjust settings, leading to consistently better photographs and a more rewarding experience.
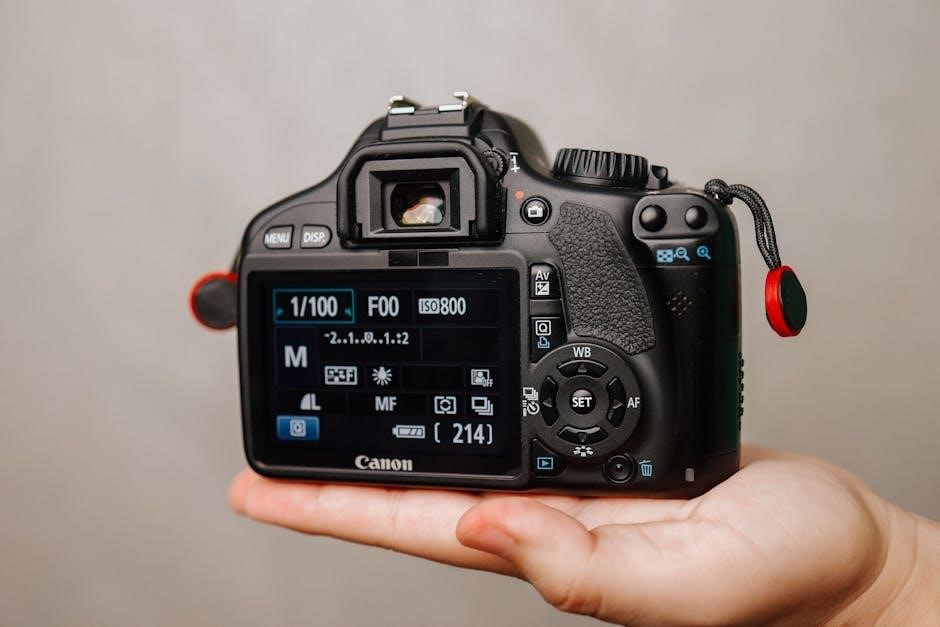
The Exposure Triangle
Mastering exposure involves balancing aperture, shutter speed, and ISO – the three pillars that determine an image’s brightness and overall aesthetic qualities.
2.1 Aperture: Controlling Depth of Field
Aperture, expressed in f-stops (like f/2.8 or f/16), regulates the lens opening, influencing both light intake and depth of field. A wider aperture (smaller f-number) creates a shallow depth of field, blurring the background and isolating the subject – ideal for portraits. Conversely, a narrower aperture (larger f-number) yields a greater depth of field, keeping more of the scene in focus, perfect for landscapes.
Understanding this relationship is crucial. The f-stop directly impacts how much of your image appears sharp. Experimenting with different apertures allows photographers to creatively control what the viewer focuses on, guiding their eye and enhancing the storytelling aspect of the photograph. It’s a fundamental element in achieving visually compelling results.
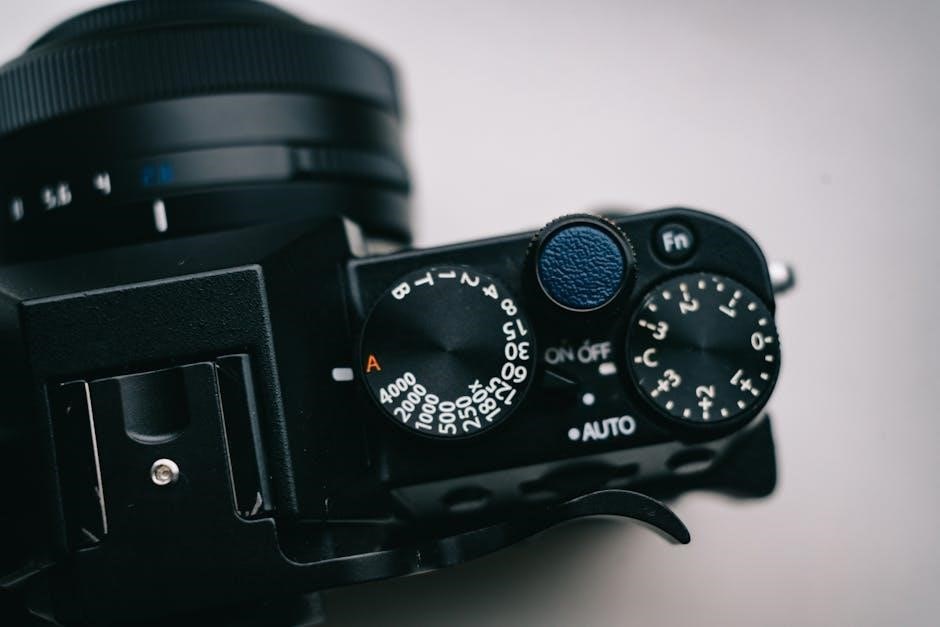
2.2 Shutter Speed: Capturing Motion
Shutter speed dictates how long the camera’s sensor is exposed to light, measured in seconds or fractions of a second (e.g., 1/200s, 1s). This directly impacts how motion is rendered in your images. Fast shutter speeds (like 1/1000s) freeze action, capturing sharp images of fast-moving subjects – think sports or wildlife.
Slower shutter speeds (like 1/30s or longer) create motion blur, conveying a sense of movement and speed. This technique is often used for artistic effect, such as blurring flowing water or light trails. Mastering shutter speed allows you to either halt action completely or artistically represent its dynamic qualities, adding a unique dimension to your photography.
2.3 ISO: Sensitivity to Light
ISO represents your camera sensor’s sensitivity to light. A lower ISO (like 100) means the sensor is less sensitive, requiring more light for a proper exposure and resulting in cleaner images. Higher ISO settings (like 1600 or 3200) increase sensitivity, allowing you to shoot in darker conditions, but at the cost of image quality.
Increasing ISO introduces digital noise – graininess – into your photos. Therefore, it’s best to keep ISO as low as possible while still achieving a correctly exposed image. Understanding the relationship between ISO and image noise is crucial for balancing brightness and quality in various shooting scenarios.

Understanding Aperture (f-stop)
Aperture, measured in f-stops, controls the lens opening size, influencing both light intake and depth of field within your photographs.
3.1 What is f-stop and How Does it Work?
F-stop is a numerical representation of the aperture opening within your camera lens. It’s expressed as f/ followed by a number – for example, f/2.8, f/5.6, or f/16. Counterintuitively, smaller numbers indicate a wider aperture opening, allowing more light to reach the camera sensor. Conversely, larger numbers signify a narrower opening, restricting light.
This system is based on a logarithmic scale. Each step (e.g., from f/2.8 to f/4) halves or doubles the amount of light entering the camera. Understanding this relationship is crucial for achieving proper exposure. The f-stop directly impacts depth of field – the area of your image that appears in focus. A wider aperture (smaller f-number) creates a shallow depth of field, ideal for isolating subjects, while a narrower aperture (larger f-number) yields a greater depth of field, keeping more of the scene sharp.
3.2 Aperture and Depth of Field Explained
Depth of field (DoF) is the distance between the nearest and farthest objects in a scene that appear acceptably sharp in an image. Aperture is the primary control influencing DoF. A wide aperture (low f-number like f/1.8) results in a shallow DoF, blurring the background and foreground – perfect for portraits, isolating a subject.
Conversely, a narrow aperture (high f-number like f/16) creates a large DoF, keeping most of the scene in focus, suitable for landscapes. Factors beyond aperture, like focal length and sensor size, also affect DoF. Longer focal lengths and smaller sensors generally produce shallower DoF. Mastering aperture allows photographers to creatively control what is in focus, guiding the viewer’s eye and enhancing the storytelling potential of their images.
Mastering Shutter Speed
Shutter speed dictates how long the camera’s sensor is exposed to light, impacting motion depiction – fast speeds freeze action, while slower speeds create blur.
4.1 Shutter Speed and Motion Blur
Shutter speed’s relationship with motion is fundamental to photography. A slower shutter speed allows more light to enter the camera, but it also captures movement as blur. This effect can be used creatively to convey a sense of speed or dynamism, particularly when photographing moving subjects like cars or waterfalls.
Conversely, a faster shutter speed freezes motion, capturing a sharp image of a fast-moving object. Think of sports photography – a quick shutter speed is crucial to halt the action. The degree of motion blur is directly proportional to the shutter speed and the speed of the subject. Experimenting with different shutter speeds is key to mastering this technique and achieving the desired artistic effect. Understanding this interplay allows photographers to intentionally control how motion is represented in their images.
4.2 Freezing Action vs. Showing Movement
The choice between freezing action and showing movement hinges on your artistic intent. To freeze a subject – a bird in flight, a splashing wave – employ a fast shutter speed, typically 1/500th of a second or faster. This minimizes motion blur, resulting in a crisp, detailed image. However, sometimes showing movement is more compelling.
Slower shutter speeds, like 1/30th or even several seconds, create intentional motion blur, conveying a sense of speed or fluidity. Think of light trails from cars at night or silky smooth water. The key is understanding your subject’s speed and selecting a shutter speed that either stops it dead or emphasizes its motion. It’s a powerful tool for storytelling through photography.

ISO and Image Noise
ISO dictates your camera’s sensitivity to light; higher ISO values brighten images in low light, but introduce digital noise, impacting image quality.
5.1 The Relationship Between ISO and Image Quality
The core connection between ISO and image quality centers around signal-to-noise ratio. Lower ISO settings (like 100 or 200) capture a stronger signal with minimal noise, resulting in cleaner, more detailed images. As you increase the ISO – say, to 800, 1600, or higher – the camera amplifies the signal, making it possible to shoot in darker conditions. However, this amplification also boosts the noise, which manifests as graininess or speckling in your photos.
Essentially, each doubling of the ISO value generally doubles the amount of noise. While modern cameras handle high ISOs much better than older models, there’s always a trade-off. Finding the sweet spot involves balancing the need for brightness with the acceptable level of noise for your specific photographic goals. Careful consideration of ISO is crucial for maintaining optimal image quality.
5.2 When to Increase ISO
Increasing ISO becomes necessary when facing low-light scenarios where maintaining a reasonable shutter speed and aperture is paramount. If you’re shooting indoors, at dusk, or under heavy cloud cover, a higher ISO allows you to avoid motion blur and achieve a properly exposed image without resorting to excessively slow shutter speeds or very wide apertures.
Specifically, consider raising the ISO when photographing fast-moving subjects in dim light – sports, wildlife, or children playing – to “freeze” the action. It’s also beneficial for astrophotography or capturing details in dark interiors. Remember to monitor the resulting image noise and find the highest usable ISO setting for your camera to balance brightness and quality.
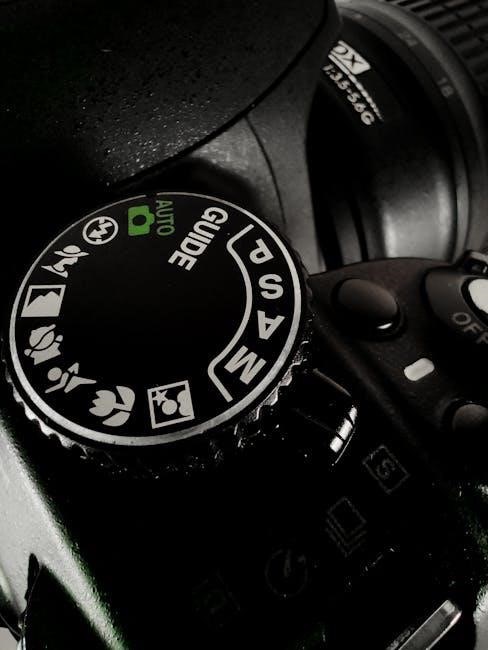
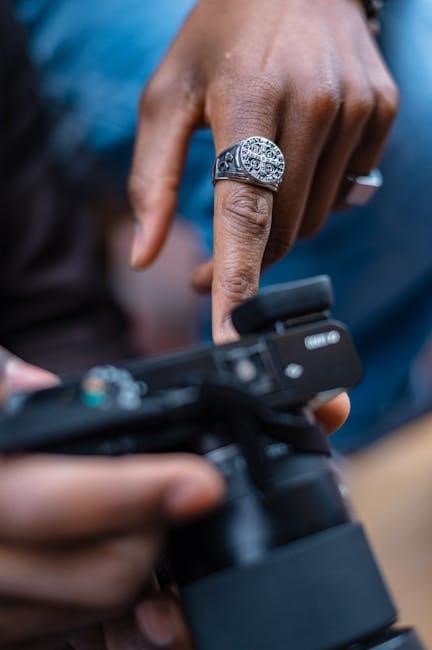
Camera Modes for Beginners
Beginners can transition from auto with Aperture Priority, Shutter Priority, and Program modes, gaining control while the camera assists with exposure settings.
6.1 Aperture Priority (Av or A)
Aperture Priority mode (labeled Av on Canon cameras and A on Nikon and Sony) empowers you to select the aperture, directly influencing the depth of field in your images. The camera then automatically calculates the appropriate shutter speed to achieve correct exposure. This is incredibly useful for portraits where a shallow depth of field is desired to isolate the subject, or for landscapes where a larger depth of field keeps everything sharp.
By controlling the aperture, you dictate how much light enters the camera and how much of the scene is in focus. Experimenting with different f-stops allows you to creatively manipulate the image, blurring backgrounds or ensuring sharpness from foreground to background. It’s a fantastic stepping stone towards full manual control, letting you focus on one key element – aperture – while the camera handles the rest.
6.2 Shutter Priority (Tv or S)
Shutter Priority mode (Tv on Canon, S on Nikon and Sony) grants you control over the shutter speed, determining how long the camera’s sensor is exposed to light. The camera automatically adjusts the aperture to maintain proper exposure. This mode excels when capturing motion – either freezing a fast-moving subject with a quick shutter speed or intentionally blurring movement to convey a sense of speed or fluidity.
For sports photography, a fast shutter speed is crucial. Conversely, for silky smooth waterfalls or light trails, a slower shutter speed is ideal. Mastering shutter speed in this mode allows you to creatively control the depiction of motion within your photographs, while the camera manages the aperture for balanced exposure. It’s a powerful tool for dynamic imagery.
6.3 Program Mode (P)
Program Mode (P) offers a balance between automatic and manual control, allowing the camera to select both aperture and shutter speed while still granting you access to other settings like ISO, white balance, and focus modes. It’s a versatile option for situations where you want a quick start but desire more control than full Auto mode provides.
Program mode often includes “Program Shift,” enabling you to slightly adjust the camera’s chosen aperture and shutter speed combination to fine-tune the image. This is useful for prioritizing either depth of field or motion blur without fully switching to Aperture or Shutter Priority. It’s a great stepping stone towards mastering manual settings, offering a degree of automation with creative flexibility.
Beyond the Basics: Additional Settings
Delving deeper, explore white balance for accurate colors and focus modes—autofocus versus manual—to refine image sharpness and creative control.
7.1 White Balance: Achieving Accurate Colors
White balance is a crucial setting for ensuring colors appear natural in your photographs. Different light sources emit varying color temperatures – warm (yellowish) or cool (bluish). Your camera attempts to neutralize these color casts to render white objects as truly white.
Automatic white balance (AWB) often works well, but can sometimes be fooled by mixed lighting or unusual color sources. Manual white balance allows you to precisely adjust the color temperature, using presets like daylight, cloudy, or tungsten, or by setting a custom white balance using a white or gray card.
Correct white balance prevents unwanted color tints, resulting in more accurate and pleasing images. Experimenting with white balance can also be a creative tool, intentionally warming or cooling the image’s tone to evoke specific moods.
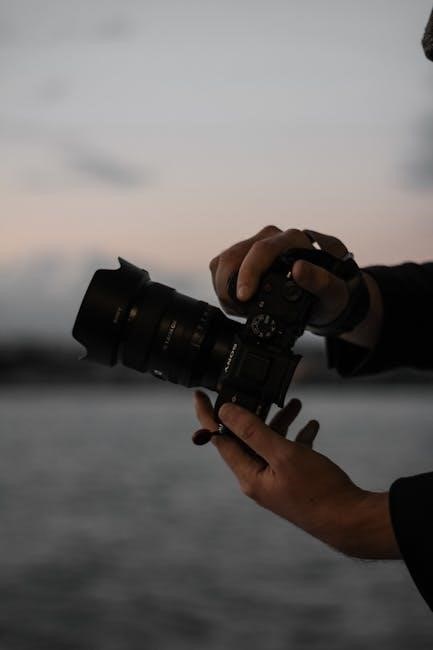
7.2 Focus Modes: Autofocus vs. Manual Focus
Your camera offers two primary focusing methods: autofocus (AF) and manual focus (MF). Autofocus utilizes the camera’s system to automatically achieve sharpness, employing various modes like single-point, continuous, and tracking. These are ideal for moving subjects or quick shots, simplifying the process.
However, autofocus isn’t always perfect. It can struggle in low light, with low-contrast scenes, or when shooting through obstructions. Manual focus gives you complete control, allowing precise adjustments using the focusing ring on your lens.
Mastering both modes is essential. MF is invaluable for macro photography, landscapes, or situations where precise focus is critical. Learning to switch between AF and MF empowers you to tackle diverse photographic challenges effectively.