
Model Identification and Serial Number
The model and serial number plate is affixed to the washer’s rear or inside the door jamb. Locate the metal tag, note the alphanumeric codes, and write them in the space provided on the installation sheet for future reference and warranty claims. Keep record safe
Locating the Model and Serial Number Plate
To begin the identification process, first ensure the washer is unplugged and the water supply valves are closed for safety. The model and serial number plate is a small, durable metal tag that is permanently affixed to the appliance. In most Kenmore 80 Series units, you will find this plate on the rear panel near the bottom, positioned just above the floor level, or alternatively it may be located inside the door jamb when the door is fully opened. The tag displays two distinct alphanumeric strings: the model number, which typically starts with a series of letters followed by numbers (for example, “80-12345”), and the serial number, a longer sequence of digits that uniquely identifies the individual machine. When you locate the plate, use a flashlight if the lighting is poor, and gently wipe any dust or residue with a soft cloth to read the characters clearly. Write both numbers legibly on the installation record sheet provided in the manual, or enter them into a digital note for future reference. Keeping this information recorded is essential for warranty registration, ordering replacement parts, and when contacting technical support, as service technicians will request the exact model and serial identifiers to ensure compatibility with parts and service bulletins. If the rear plate is obstructed by cabinetry, open the door fully and inspect the inner jamb; a small rectangular area near the latch often houses the same identification tag, and a handheld mirror can aid visibility in tight spaces. Note them on the warranty card.!
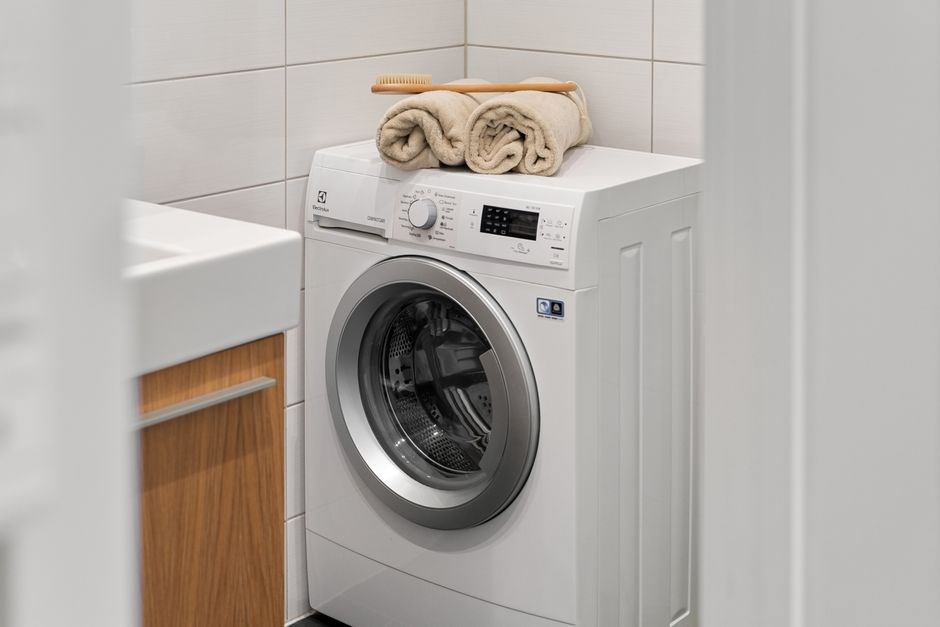
Recording Model and Serial Numbers for Reference
After locating the identification plate, immediately record the model and serial numbers in the designated spaces within this manual or on the warranty registration card. The manual typically provides a specific area labeled “Model No.” and “Serial No.” for this purpose. Writing them down now prevents the frustration of searching for a faded or inaccessible plate later, especially if the unit is installed in a tight alcove. Accurate recording is critical for warranty validation; manufacturers require these exact identifiers to confirm coverage dates and eligibility for repairs. When ordering replacement parts such as a drive motor, transmission, or control board, parts distributors cross-reference the model number to ensure component compatibility, as engineering changes often occur mid-production. Service technicians also rely on the serial number to determine the manufacturing date and apply the correct service bulletins or firmware updates. For added security, take a clear photograph of the plate with a smartphone and store the image in a cloud folder labeled “Appliance Records.” Additionally, register the appliance on the manufacturer’s website using these numbers to receive recall notifications and extended warranty offers. Keep a secondary written copy in a home maintenance binder alongside the purchase receipt and installation date. This redundancy ensures you have the data readily available during an emergency service call, minimizing downtime and diagnostic errors. Verify the characters carefully; a single transposed digit can lead to ordering incorrect parts or voiding warranty claims. Double-check the entries against the plate before closing the manual. Save this guide.
Installation Requirements and Steps
Before installing, verify a 120‑V, 60‑Hz outlet and a cold‑water supply with a ¾‑inch hose. Ensure the floor can support the unit’s weight. Use a level to align the washer, then tighten the leveling legs until it is plumb. Secure the unit to the floor per the manual. See guide..
Electrical and Water Supply Specifications
Before connecting the Kenmore 80 Series washer, verify that the home electrical circuit provides a dedicated 120‑volt, 60‑hertz supply with a minimum 15‑amp breaker. The power cord must be plugged into a properly grounded three‑prong outlet; do not use adapters or extension cords. The washer’s internal fuse is rated at 10 A and will trip if the circuit is overloaded. For water supply, attach the cold‑water hose to a standard ¾‑inch compression fitting that delivers water pressure between 20 and 120 psi. The inlet valve is designed for a ½‑inch hose, but the supplied adapter allows connection to the ¾‑inch source without leakage. Use only cold water; hot‑water connections are not required for this model. Ensure the drain hose is positioned no higher than 96 inches above the floor and that it terminates in a stand‑pipe with a minimum 2‑inch diameter, complying with local codes. The washer’s water intake valve includes a built‑in screen to trap debris; clean the screen periodically to maintain flow. When installing, tighten all hose fittings with a wrench no more than one full turn after hand‑tightening to avoid overtightening that could crack the fittings. Finally, confirm that the grounding wire of the power cord is securely attached to the appliance’s grounding screw to prevent electrical shock. Check that the water inlet valve is fully open before operation, and verify that the hose connections are free of kinks to maintain optimal flow and prevent pressure loss during cycles. Ensure connections are tight OK
Leveling and Securing the Washer
Proper leveling prevents excess vibration, reduces wear, and ensures optimal cleaning performance. Follow these steps when installing a Kenmore 80 Series washer.
- Prepare the floor. Verify that the installation location is a flat, solid surface such as a concrete slab or a level wood platform. Remove any debris, carpet padding, or uneven flooring material that could affect stability.
- Position the appliance. Pull the washer gently away from the wall, leaving at least two inches of clearance for the water hoses and power cord. Center the unit on the floor area to allow equal weight distribution.
- Check the factory‑installed feet. Each corner of the washer has a threaded leveling foot with a rubber pad. Loosen the lock nuts using a wrench, but do not remove them completely.
- Measure levelness. Place a bubble level on top of the control panel and on the tub rim. Adjust the front‑left foot until the bubble is centered, then lock the nut. Repeat for the front‑right foot, then the rear‑left and rear‑right feet, checking the level after each adjustment. The washer should read within ±0.5 inches across the entire width and depth.
- Tighten all lock nuts. Once the unit is level, fully tighten each lock nut clockwise until the foot contacts the floor. Do not overtighten, as this can crack the foot housing.
- Final check. Ensure the washer is stable properly and hoses have no kinks.
Control Panel and Cycle Selection
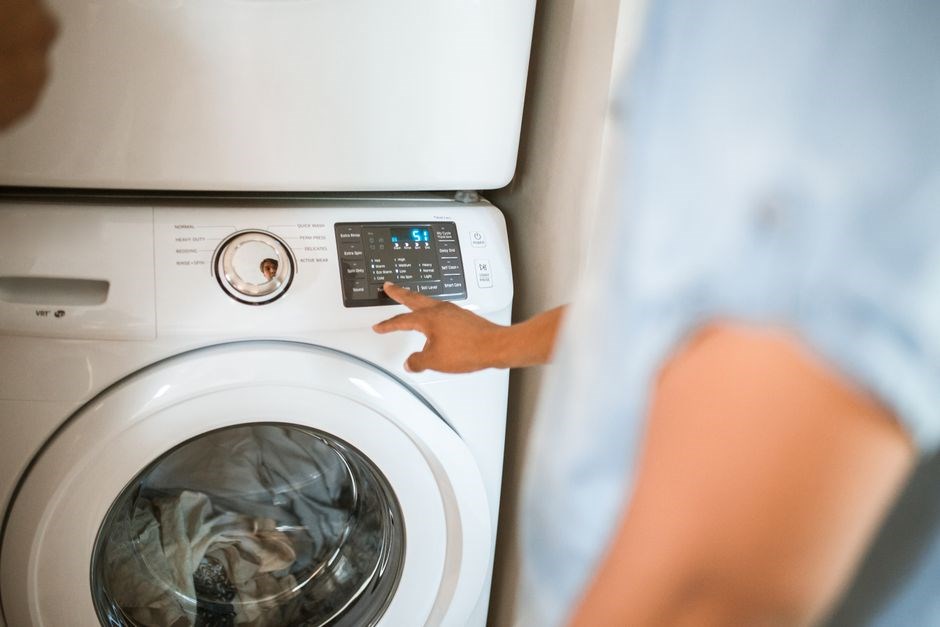
The Kenmore 80 Series features a digital display with buttons for Normal, Heavy, Delicate, and Quick cycles. Use the Speed selector to choose low, medium, or high agitation. Press Start to begin; the panel shows remaining time and any active options. See manual page 5!
Understanding Cycle Options and Speed Settings
The Kenmore 80 Series washer utilizes a robust three-speed direct-drive transmission system offering versatile fabric care through distinct cycle selections on the main timer dial. The control panel typically presents Regular, Permanent Press, and Delicates cycles, each engineered with specific agitation and spin speed profiles. Regular cycles employ high-speed agitation for maximum soil removal on sturdy cottons, linens, and denim, followed by a high-speed spin to extract maximum moisture reducing dryer time. Permanent Press cycles switch to medium-speed agitation to prevent fiber distortion in synthetic blends and knits, incorporating a cool-down spray rinse and medium-speed spin to minimize wrinkle formation. Delicates cycles utilize low-speed agitation and low-speed spin providing gentle rocking motion for sheer fabrics, lingerie, and hand-washables. The three-speed motor winding configuration physically changes the mechanical action; high speed creates vigorous rollover, medium provides moderate turnover, low ensures minimal mechanical stress. Water temperature selection operates independently via a separate switch controlling fill valves for hot, warm, or cold washes and rinses. Always match the cycle to the most delicate item in the load and verify the timer pointer clicks securely into the desired detent position to engage the correct cam sequence for the programmed wash duration and sequence. Verify the lid label for precise fabric care recommendations now.
- Regular Heavy: High agitation, High spin, Hot/Warm water for whites and diapers.
- Regular Normal: High agitation, High spin, Warm/Cold water for colorfast cottons.
- Permanent Press: Medium agitation, Medium spin, Warm/Cold water for synthetics.
- Delicates: Low agitation, Low spin, Cold/Cold water for sheer fabrics.
- Speed Selector: Mechanical lever shifts motor windings between High, Medium, Low RPM ranges.
Using Special Features and Options
The Kenmore 80 Series washer includes several optional functions that enhance cleaning performance and convenience. The Pre‑Wash option adds an initial soak and agitation cycle before the main wash, ideal for heavily soiled work garments or sports uniforms. Activate it by turning the selector knob to the “Pre‑Wash” position; the machine will fill, agitate at medium speed, then drain before proceeding to the selected primary cycle.
The Extra Rinse feature provides an additional rinse spin to ensure all detergent residues are removed, which is especially useful for allergy‑sensitive users or when using high‑efficiency detergents. To use, press the “Extra Rinse” button after the main rinse phase; the washer will perform a brief fill‑and‑spin sequence before completing the cycle.
A Delay Start timer allows you to postpone the beginning of a wash up to 24 hours. Set the desired delay using the “Delay” dial; the control board will hold the motor in standby until the programmed interval elapses, then automatically start the chosen cycle.
The Water‑Level Selector lets you choose between low, medium, or high fill levels based on load size. Selecting “Low” conserves water for small loads, while “High” ensures ample water for bulky items such as blankets.
For fabric care, the Cold‑Water Wash option engages the machine’s temperature valve to fill with cold water only, reducing energy consumption and protecting colors. The Hot‑Water Boost adds a brief hot‑water burst at the start of the wash to improve stain removal on whites.
All settings are stored mechanically; verify positions for load.OK
Loading Guidelines and Detergent Usage
Load the washer no more than three‑quarters full, distributing items evenly around the drum. Use HE‑compatible detergent; ½ cup for normal loads, ¼ cup for small loads, and up to 1 cup for heavily soiled or bulky items. Do not overload to ensure proper agitation.
Proper Load Size and Distribution
Load the Kenmore 80 Series washer no more than three-quarters full. For a 4-cu-ft drum this is about 12-14 lb of mixed fabrics or 8-10 lb of bulky items. Small loads should still fill at least one-quarter of the drum to keep the machine balanced.
Distribute garments evenly around the drum circumference. Place heavy items opposite lighter pieces, use mesh bags for socks or bras, and avoid stacking all clothes in one spot. This prevents “center-of-gravity” shifts that cause vibration during high-speed spins.
Delicate fabrics require the gentle cycle, lower spin speed, and a protective bag. For heavily soiled workwear, add a bit more detergent and consider an extra rinse. Consistently following these load-size and distribution practices extends the washer’s life and maintains cleaning efficiency.
To fine-tune load balance, weigh items when possible and avoid mixing heavy denim with lightweight synthetics in the same wash. Group towels, sheets, and blankets together, and place them opposite each other in the drum. If the washer displays an unbalanced load error, pause the cycle, redistribute the garments evenly, and restart. Regularly inspect the drum for foreign objects such as coins or small toys that can shift during spin and cause vibration. Maintaining proper load distribution not only improves cleaning results but also reduces wear on bearings and suspension components, extending the overall service life of the appliance. Check the balance indicator each time to keep washing efficient today.
Recommended Detergent Types and Amounts
The Kenmore 80 Series washer works best with high‑efficiency (HE) liquid or powder detergents that are low‑sudsing and specifically formulated for front‑load or top‑load machines. Do not use regular laundry bars or non‑HE powders, as excess suds can interfere with the rinse cycle and trigger error codes.
For a normal load (approximately 12 lb of mixed fabrics) use 35 ml (about 2 tablespoons) of HE liquid or 30 g of HE powder. Heavy‑soil cycles such as “Power Wash” may require up to 45 ml of liquid or 40 g of powder. Light‑soil or delicate cycles need only 20 ml liquid or 15 g powder.
When using liquid detergent, pour it into the detergent drawer’s main compartment and close the lid securely. For powder, add it to the same compartment, ensuring it is evenly spread to avoid clumping. Do not place detergent directly into the drum.
If you prefer fragrance boosters, add them to the designated compartment marked “softener.” Do not exceed the manufacturer’s maximum fill line, typically indicated on the drawer.
In hard‑water areas, consider using a water‑softening additive or a detergent with built‑in water‑softening technology. This helps prevent mineral deposits on the drum and improves detergent efficiency. Follow the product label for the correct dosage, usually an extra 5 ml of liquid or 5 g of powder per load.
Never exceed the recommended detergent amount. Over‑dosing leads to excess suds, poor rinsing, residue on clothes, and errors. Run an rinse without detergent if no scum appears.
Maintenance, Troubleshooting, and Support
Regularly clean the lint filter, door seal, and detergent drawer to prevent residue. Inspect hoses for wear six months. Consult the Kenmore 80 Series repair guide for error codes like “F01” (water fill) and “F05” (drain). Contact support for model and serials.
Routine Cleaning and Preventive Maintenance
Before any cleaning, disconnect power and shut off water. Remove the lint filter from the agitator housing or dispenser drawer, rinse under warm water and brush away fibers. Wipe the door gasket with a cloth dampened in a 1:1 water‑vinegar solution, paying attention to folds where mildew can form. Run a maintenance cycle on the hottest setting with two cups of liquid chlorine bleach or a dedicated washing‑machine cleaner; let the machine complete the cycle empty.
Clean the detergent dispenser by pulling the drawer out, discarding residue and washing the compartment with mild soap. Rinse and dry before reinstalling. Inspect inlet filters on both hot and cold hoses; soak removed screens in equal parts water and vinegar for five minutes, then rinse. Every three months, open the rear lower panel, place a shallow pan, unscrew the drain pump filter and clear lint, coins or debris before reseating.
Check supply hoses twice yearly for cracks, bulges or wear and replace any damaged hose with a new, correctly‑rated one. Tighten connections with a wrench, avoiding over‑tightening that could strip threads. Wipe the control panel with a slightly damp microfiber cloth; never use abrasive cleaners. Vacuum the vent area behind the washer regularly to prevent dust buildup that may affect cooling. Record each maintenance step, date and parts replaced in a logbook to simplify warranty claims and aid service technicians. Inspect the control knob for wear and apply silicone spray if the turn feels too gritty regularly now!.
Common Error Codes and Repair Resources
Kenmore 80 Series washers display a series of alphanumeric error codes that help pinpoint mechanical or electronic issues. The most frequently encountered codes include F01, indicating a water-fill timeout; F02, a water-drain timeout; F03, a motor-temperature overload; F04, a door-lock fault; and F05, a sensor communication error. When a code appears, the display will flash the letters and numbers for several seconds before returning to the idle screen. To interpret the code, first write it down, then consult the owners manual’s troubleshooting chart, which lists the probable cause and a recommended corrective action. For example, F01 often results from a clogged inlet filter or low household water pressure; cleaning the filter or verifying that the supply valves are fully open usually resolves the issue. F02 may be caused by a blocked pump hose, a kinked drain line, or a faulty pump motor; inspecting the pump filter, removing obstructions, and testing motor continuity with a multimeter are typical steps. F03 usually points to an overheated motor due to excessive load or a malfunctioning thermal fuse; allowing the machine to cool, reducing load size, and, if necessary, replacing the fuse restores normal operation. F04 indicates that the door latch sensor is not engaging; ensure the door is fully closed, clean the latch contacts, and replace the latch assembly if the problem persists. F05 suggests a communication breakdown between the control board and a sensor; reseating connectors and swapping the sensor are advised.!