
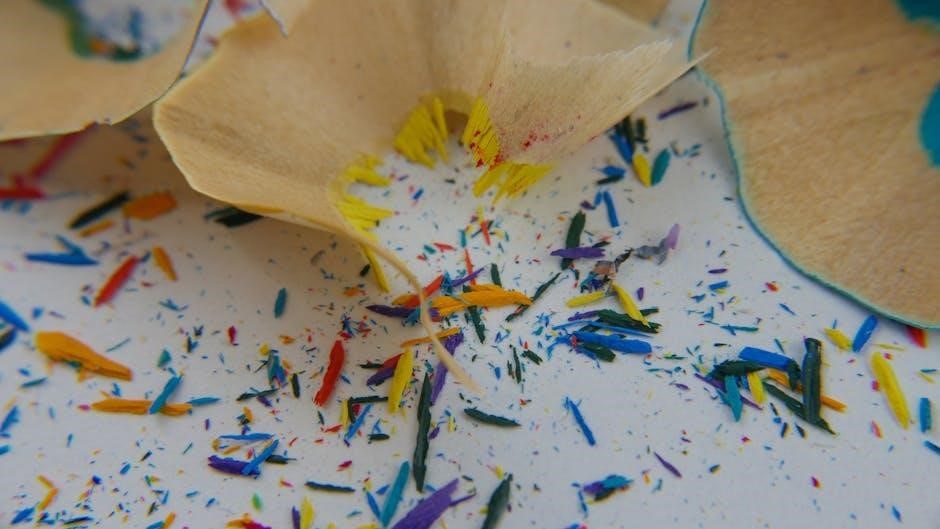
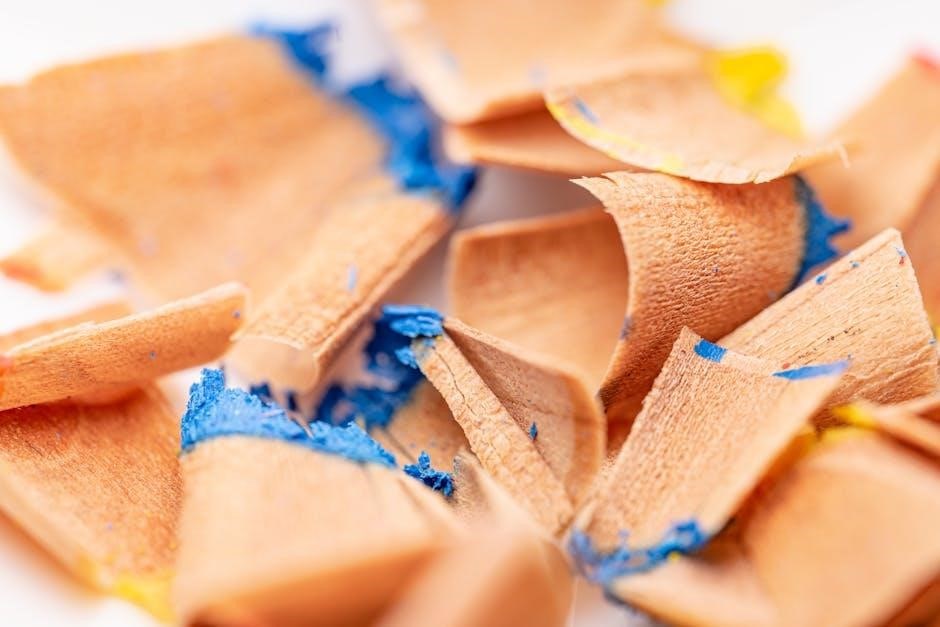
Sharpening is crucial for woodworkers, enabling precise cuts with knives, chisels, and gouges. A comprehensive sharpening guide ensures tools remain effective and enjoyable to use.
Why Sharpening Matters
Sharpening isn’t merely about restoring an edge; it fundamentally impacts the quality, safety, and enjoyment of woodworking. Dull tools require significantly more force to operate, increasing the risk of slips and injuries. A sharp tool, conversely, glides through material, offering greater control and precision.
Hand tools are a pleasure to use when they’re sharp, transforming tasks from laborious struggles into satisfying experiences. Maintaining sharpness extends the life of your tools, preventing unnecessary wear and tear. Investing time in sharpening unlocks the full potential of your equipment, leading to cleaner cuts, finer details, and ultimately, superior craftsmanship. It’s a skill that elevates woodworking from a hobby to an art.
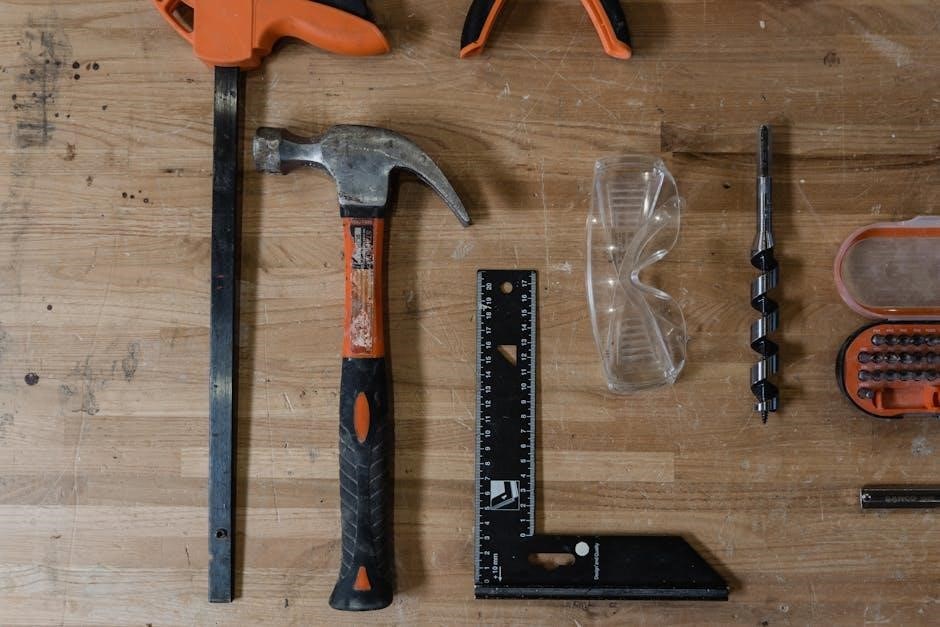
Tools Covered in This Guide
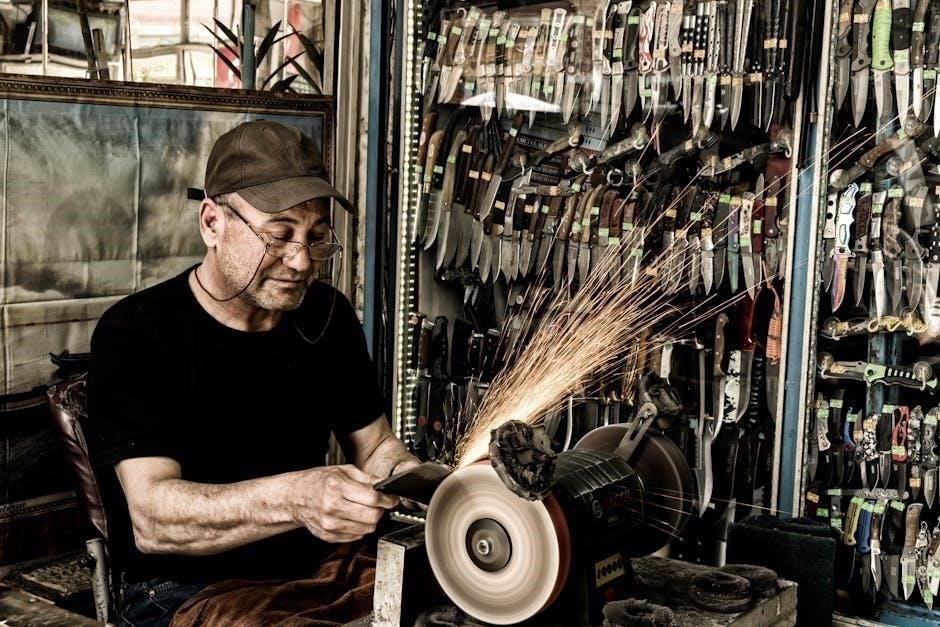
This sharpening guide will detail techniques applicable to a wide array of cutting tools commonly found in woodworking and beyond. We’ll focus on sharpening knives – from everyday kitchen blades to specialized woodworking knives – alongside chisels and gouges, essential for shaping and detailing wood.
Furthermore, we’ll explore methods for maintaining the edges of V-tools, frequently used in carving and lettering. The guide also touches upon sharpening cutters with sintered-hard alloy plates and high-speed steel drills, expanding its utility to metalworking applications. Even files for sharpening knives, scissors, axes, and hacks will be briefly addressed, offering a comprehensive overview of edge maintenance.

Sharpening Safety
Sharpening involves sharp tools; therefore, prioritizing safety is paramount. This sharpening guide emphasizes the use of proper personal protective equipment and careful handling techniques.
Personal Protective Equipment (PPE)
Sharpening demands respect for the tools involved, and utilizing appropriate Personal Protective Equipment (PPE) is non-negotiable. A comprehensive sharpening guide always begins with safety. Protecting your hands is vital; consider cut-resistant gloves to prevent accidental contact with blades. Eye protection, such as safety glasses or a face shield, is crucial to shield against flying metal particles or abrasive dust generated during the sharpening process.
Furthermore, a dust mask or respirator is recommended, especially when working with certain sharpening stones or materials, to avoid inhaling fine particles. Proper attire, avoiding loose clothing or jewelry, minimizes potential hazards. Remember, prioritizing PPE isn’t just about preventing injury; it’s about fostering a safe and focused sharpening environment.
Safe Handling of Sharpening Stones and Tools
A thorough sharpening guide emphasizes safe handling practices. Always secure sharpening stones firmly to prevent slipping during use – a stable base is paramount. When handling sharp tools, maintain complete control and awareness of blade direction. Never apply excessive force; let the abrasive do the work. Store tools and stones safely when not in use, ideally in a dedicated case or rack, away from reach.

Inspect tools for damage before each use, and discard or repair any with compromised integrity. Clean stones regularly to remove metal filings and maintain optimal performance. Proper handling minimizes risks and extends the lifespan of both your tools and sharpening equipment, ensuring a productive and safe workflow.

Basic Sharpening Techniques
A sharpening guide reveals that mastering bevel angles and consistent strokes are fundamental. The process involves creating and refining a sharp edge through abrasive action.
Understanding Bevel Angles
Sharpening guides emphasize that the bevel angle, formed between the blade’s edge and the body, significantly impacts performance. Lower angles (around 20 degrees) create incredibly sharp edges, ideal for delicate work like carving, but are more prone to chipping. Higher angles (25-30 degrees) offer greater durability, suitable for tasks demanding robustness, such as chopping.
Maintaining a consistent bevel angle throughout the sharpening process is paramount. Precision honing guides and angle jigs, as highlighted in various resources, assist in achieving this consistency. Incorrect angles lead to weak edges or ineffective cutting. Understanding your tool’s intended use will dictate the optimal bevel angle for lasting sharpness and functionality, as any good sharpening guide will explain.
The Sharpening Process: Step-by-Step
A solid sharpening guide outlines a systematic approach. First, establish the correct bevel angle using a guide if needed. Begin with a coarse abrasive to remove significant damage or reshape the edge, applying consistent pressure and maintaining the angle. Progress to finer grits, gradually refining the edge and eliminating scratches.
Water stones require lubrication, while oil stones utilize honing oil. Diamond plates can be used dry or with water. Regularly check your progress, feeling for a burr along the edge. Finally, strop the blade to remove the burr and achieve a polished, razor-sharp finish. Following a sharpening guide ensures optimal results.
Sharpening Different Cutting Tools
A detailed sharpening guide adapts techniques for knives, chisels, gouges, and V-tools, considering blade geometry and steel type for optimal sharpness.
Sharpening Knives
Sharpening knives requires a systematic approach, guided by understanding bevel angles and steel hardness. A comprehensive sharpening guide emphasizes consistent pressure and angle maintenance throughout the process. Begin with coarser stones to establish the bevel, then progress to finer grits for refinement.
DIY jigs and precision honing guides aid in angle control, crucial for achieving a keen edge. Regular stropping maintains sharpness between sharpening sessions. Different knife types—from kitchen knives to specialized woodworking blades—may necessitate slight adjustments to technique. Remember to always prioritize safety when handling sharp tools and abrasives, following a detailed sharpening guide for best results.
Sharpening Chisels and Gouges
Sharpening chisels and gouges demands attention to their curved or angled blades. A detailed sharpening guide will illustrate how to maintain the correct bevel geometry for each tool. Utilize sharpening stones, progressing from coarse to fine grits, to remove material and refine the edge.
Honing guides are particularly useful for maintaining consistent angles on gouges. For chisels, focus on establishing a micro-bevel for increased durability. Regular stropping is essential for preserving sharpness. Remember, a well-maintained chisel or gouge significantly enhances woodworking precision. Following a reliable sharpening guide ensures optimal performance and longevity of these vital tools.
Sharpening V-Tools
Sharpening V-tools presents a unique challenge due to their complex, angled profiles. A comprehensive sharpening guide is invaluable for mastering this process. Employing a honing guide is highly recommended to maintain consistent angles on both sides of the ‘V’. Start with coarser stones to reshape the bevel, then transition to finer grits for polishing;
Pay close attention to the internal angle of the ‘V’, ensuring both sides are sharpened equally. Regular stropping will help preserve the delicate edge. A properly sharpened V-tool delivers clean, precise lines in carving and lettering. Referencing a detailed sharpening guide will unlock the full potential of these specialized tools.

Sharpening Stones and Abrasives
Sharpening guide details water, oil, and diamond stones – each offering unique benefits. Selecting the right abrasive is key to achieving a razor-sharp edge efficiently.
Water Stones: Types and Usage
A sharpening guide reveals water stones as popular abrasives, categorized by grit. Coarse grits (220-400) rapidly remove material, ideal for repairing damaged edges. Medium grits (800-1200) refine the bevel, while fine grits (3000-8000+) polish for extreme sharpness.
Usage involves soaking the stone in water for a period, creating a slurry that aids cutting. Maintaining consistent pressure and angle during sharpening is vital. Water stones cut quickly but wear faster, requiring flattening with a lapping plate to maintain a true surface. Regular use and proper care unlock their full potential, delivering exceptionally sharp results for various cutting tools.
Oil Stones: Types and Usage
A sharpening guide highlights oil stones as traditional abrasives, offering durability and slower material removal compared to water stones. They come in natural varieties like Arkansas stones – soft, medium, and hard – each providing a different level of cut and polish. Synthetic oil stones offer consistent grit sizes and faster cutting action.
Oil is used as a lubricant and to carry away swarf. Consistent, moderate pressure and maintaining the correct bevel angle are key. Oil stones don’t wear as quickly as water stones, but still benefit from occasional flattening. They are excellent for achieving a refined edge, particularly on harder steels, and require less frequent maintenance overall.
Diamond Sharpening Plates
A sharpening guide reveals diamond plates as incredibly versatile abrasives, offering fast and aggressive material removal. They’re available in various grit sizes, from coarse for repairing damaged edges to very fine for polishing. Diamond plates don’t require water or oil, though water can help clear swarf.
These plates are excellent for sharpening hard steels and can be used on a wide range of tools, including knives, chisels, and even some drill bits. They maintain flatness longer than many stones, reducing the need for frequent flattening. Consistent pressure and angle control are vital for optimal results, ensuring a sharp and durable edge.
Sharpening Jigs and Guides
A sharpening guide highlights jigs and guides for consistent angles, simplifying the process for beginners and enhancing precision for experienced woodworkers alike.
DIY Sharpening Jigs
Sharpening guides often inspire resourceful woodworkers to construct their own jigs. These homemade solutions, frequently utilizing wood and strong magnets, offer a cost-effective method for maintaining consistent blade angles during sharpening. A recent design improvement involves strategically placed magnets, securely holding the knife against sharpening plates.
Creating a DIY jig allows for customization tailored to specific tools and sharpening preferences. While not offering the precision of commercially available options, a well-constructed DIY jig significantly improves sharpening accuracy compared to freehand methods. This approach embodies the spirit of self-reliance and ingenuity within the woodworking community, providing a practical sharpening guide alternative.
Precision Honing Guides and Angle Jigs
For woodworkers demanding ultimate accuracy, precision honing guides and angle jigs represent a significant investment. These commercially available sharpening guides meticulously control blade geometry, ensuring consistent bevel angles throughout the sharpening process. They accommodate various blade thicknesses and profiles, offering versatility for diverse cutting tools.
These jigs minimize the learning curve associated with freehand sharpening, making it easier to achieve professional-quality results. By securely locking the blade in place, they eliminate guesswork and promote repeatable sharpening. A quality honing guide is an invaluable addition to any workshop, providing a reliable sharpening guide for consistently sharp edges.
Maintaining Sharpness
Consistent stropping and regular touch-ups, as detailed in a good sharpening guide, preserve a tool’s keen edge, minimizing the need for extensive re-sharpening.
Stropping Techniques
Stropping is a vital finishing step, refining the edge after sharpening. A sharpening guide will emphasize using a leather strop, often charged with abrasive compounds. The technique involves drawing the blade away from the cutting edge, maintaining a consistent angle.
This aligns the microscopic metal fibers, creating a smoother, more durable edge. Different compounds – like chromium oxide or diamond paste – offer varying levels of refinement. Frequent stropping, even after each use, significantly extends sharpness. Mastering the proper pressure and speed, as outlined in a detailed guide, prevents rounding the edge and ensures optimal performance. It’s a simple yet powerful method for maintaining peak cutting ability.
Regular Maintenance and Touch-Ups
A sharpening guide stresses that consistent maintenance prevents extensive re-sharpening. Frequent, light touch-ups are far easier than restoring a dull edge. Stropping after each use is a key component, as is regular inspection for any signs of damage or wear.
Minor chips can be addressed quickly with a few passes on a fine sharpening stone. Establishing a routine – perhaps a weekly strop and monthly stone touch-up – keeps tools in optimal condition. This proactive approach extends tool life and ensures consistent performance. Following a guide’s schedule minimizes downtime and maximizes woodworking enjoyment.
Advanced Sharpening Considerations
Sharpening guides detail techniques for harder materials like sintered-hard alloy plates and high-speed steel drills, requiring specialized abrasives and meticulous precision.
Sharpening Hard Alloy Plates
Sharpening guides emphasize that cutters with sintered-hard alloy plates present a unique challenge due to their extreme hardness. Traditional sharpening stones may prove ineffective, necessitating the use of diamond abrasives or specialized sharpening systems.
These plates require a slow, deliberate approach, prioritizing consistent pressure and cooling to prevent overheating and potential damage. Maintaining a precise bevel angle is paramount, often aided by honing guides. Patience is key, as removing material from these alloys is a gradual process.
Proper technique ensures a durable, sharp edge capable of withstanding demanding cutting tasks. Remember to inspect the plate frequently for any signs of chipping or uneven wear during the sharpening process.
Sharpening High-Speed Steel Drills
A sharpening guide for high-speed steel (HSS) drills stresses the importance of maintaining the correct lip angles – typically 59 degrees for general-purpose drills. Utilizing a drill sharpening jig is highly recommended for consistent results, ensuring both lips are ground symmetrically.
Diamond sharpening stones or abrasive wheels are effective for HSS, but avoid excessive heat buildup, which can temper the steel and reduce its hardness. Light, controlled passes are crucial. Regularly check the flute geometry to prevent clogging during drilling.
Properly sharpened HSS drills cut efficiently and cleanly, extending tool life and improving accuracy. Consistent sharpening prevents wandering and reduces the risk of breakage.